The term is a period during which classes could be scheduled within the academy.
The term definition includes the start and end date of the term and the holidays within the term. The term could be any set of periods from a day to a year.
Once a term is created, classes are created by referencing the term. Classes created from the term will derive the start and end date along with the holidays from the term.
Any changes to the term will automatically be passed onto the classes linked to the term and will impact the sessions within the class
Creating a new term
Navigate to the Term from the Manage menu

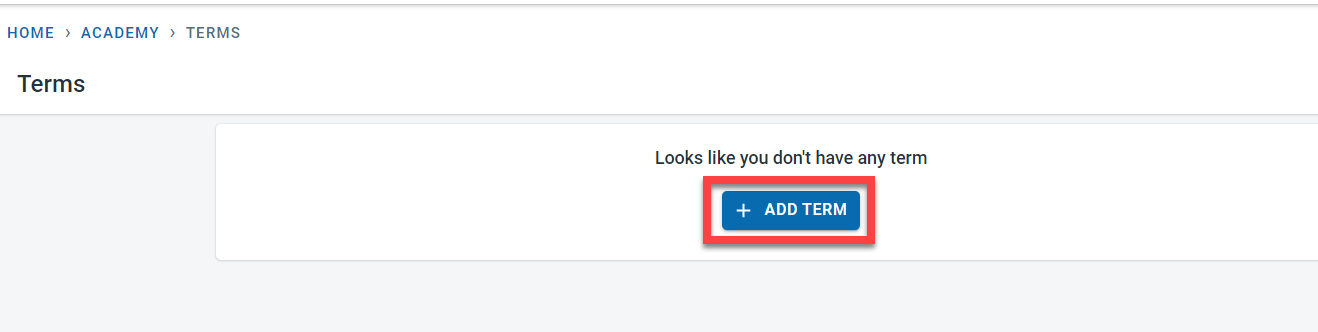
If there are no terms defined previously for the academy, the “ADD TERM” option is displayed. Click Add Term.
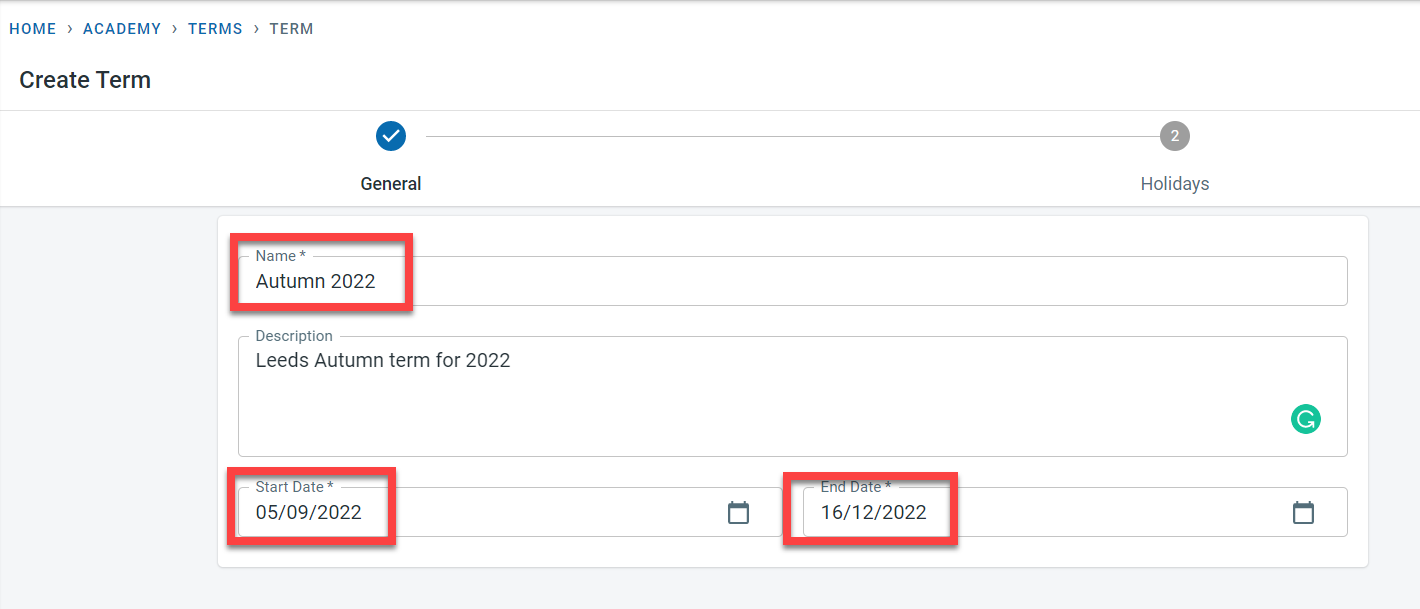
Adding Term is split into two sections - General and Holidays. For example, the Autumn 2022 term can be set as a term period between the 5th of September 2022 and the 16th of December 2022 and a holiday between the 24th of October 2022 and the 28th of October 2022
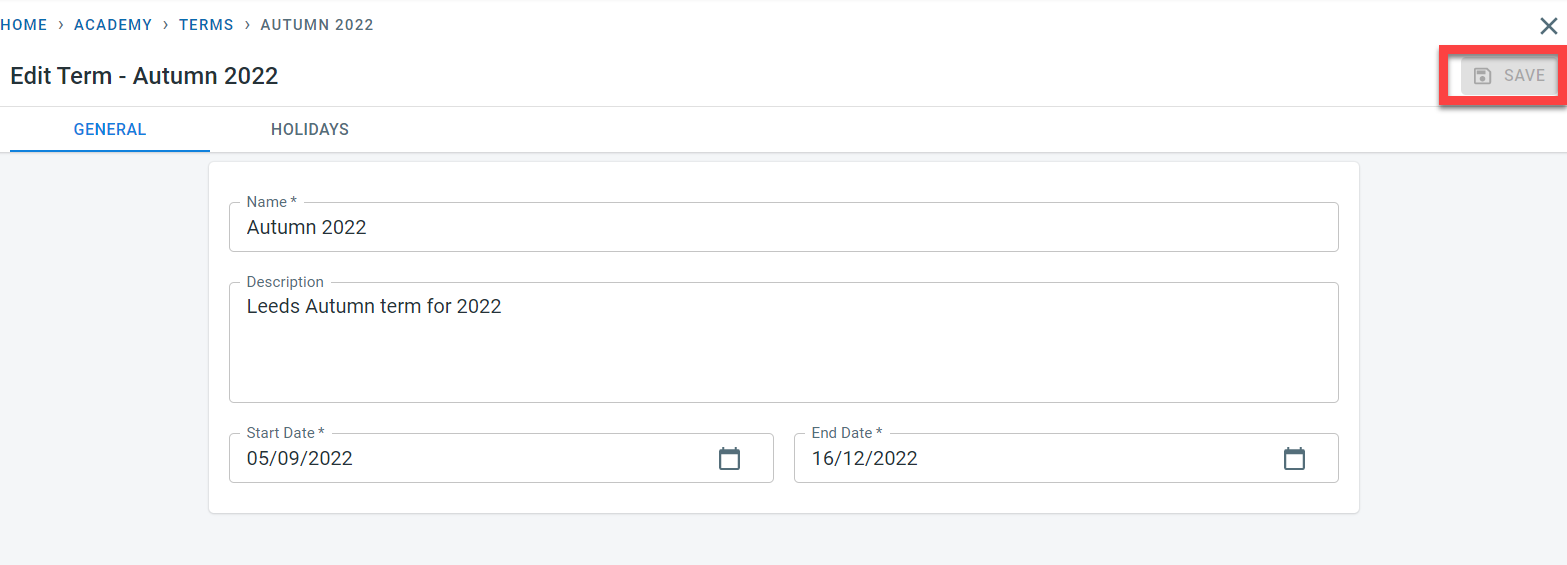
General - In this section, define the name of the term, its description, and the term period which is a date range defined by choosing the start and end date from the date picker menu.
Press “Next” at the bottom of the screen
Holiday - The holiday screen is used to define any holiday during this term -no classes are scheduled during the defined holiday.
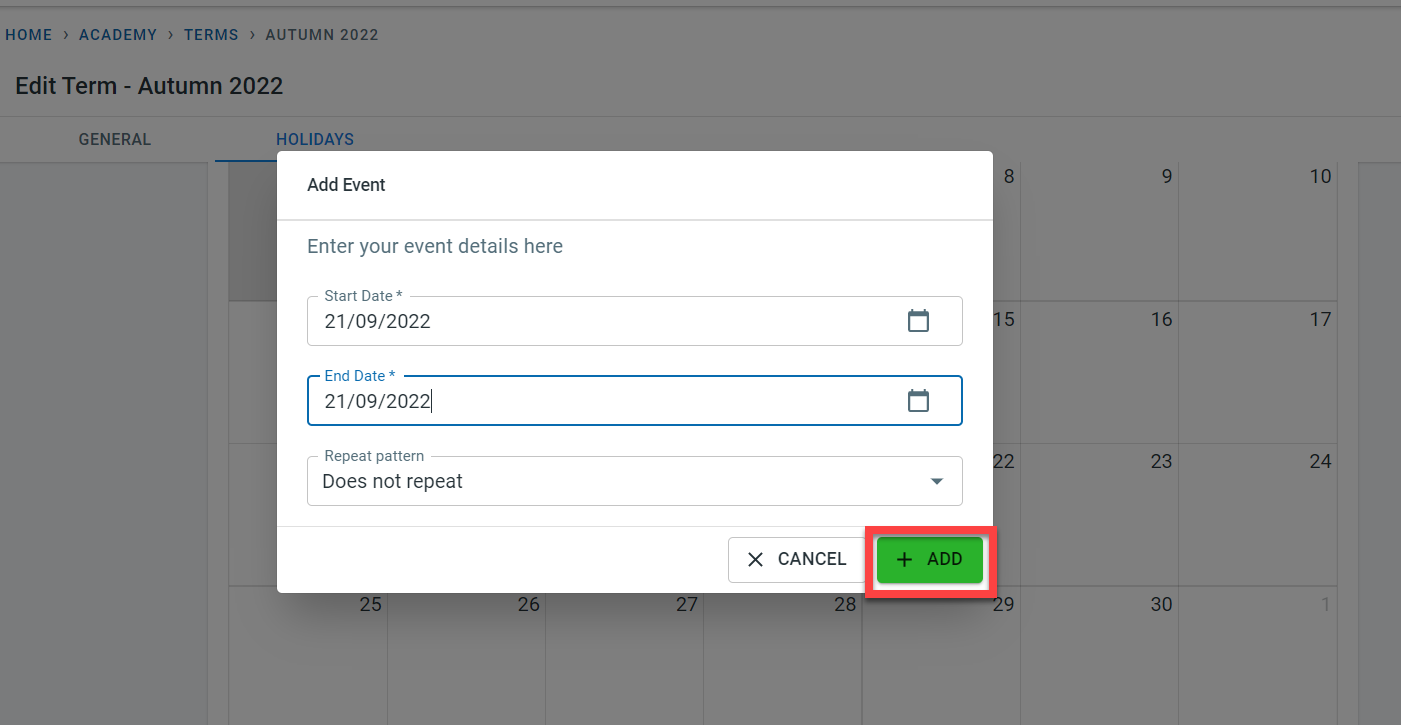
Clicking on any date within the calendar will bring a pop-up screen, which allows for defining the holiday event details. The repeat pattern field within the pop-up screen is used to choose the repeat pattern as daily, every weekday, every weekend, weekly, monthly and annual if needed.
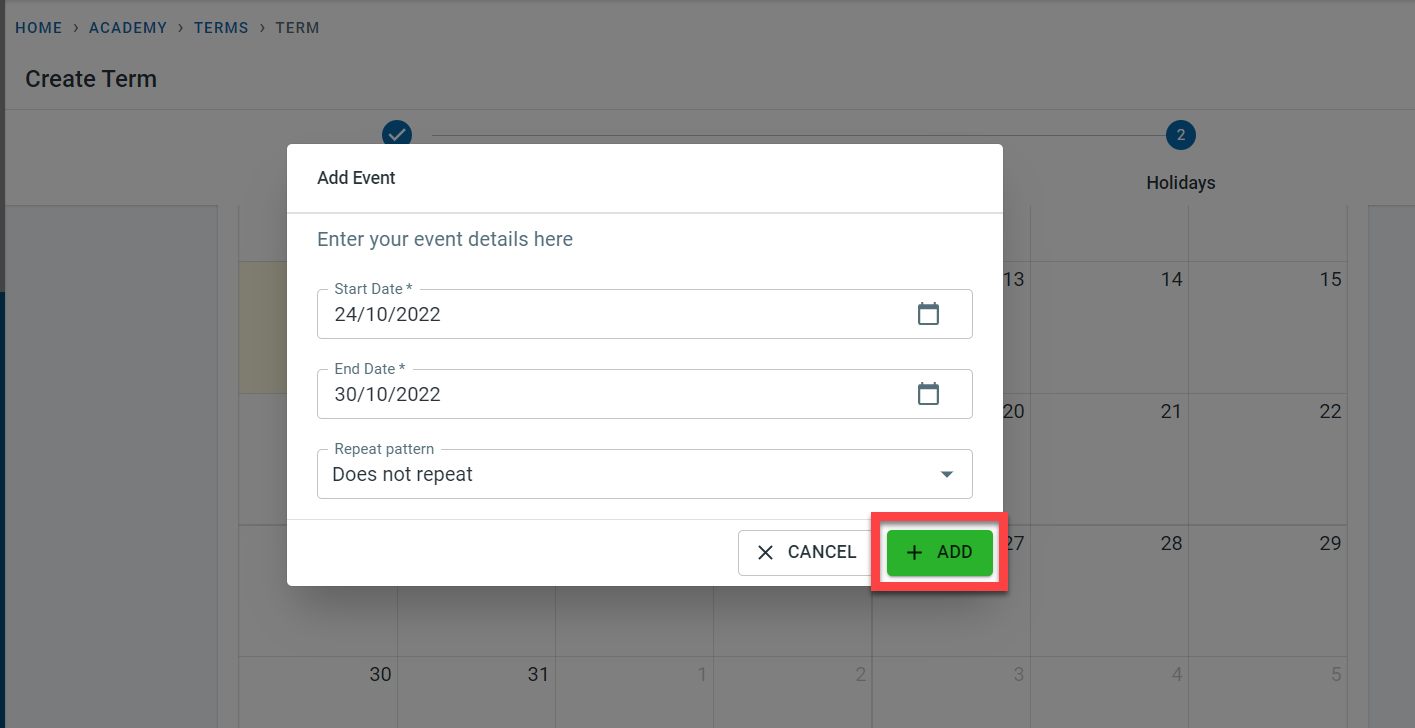
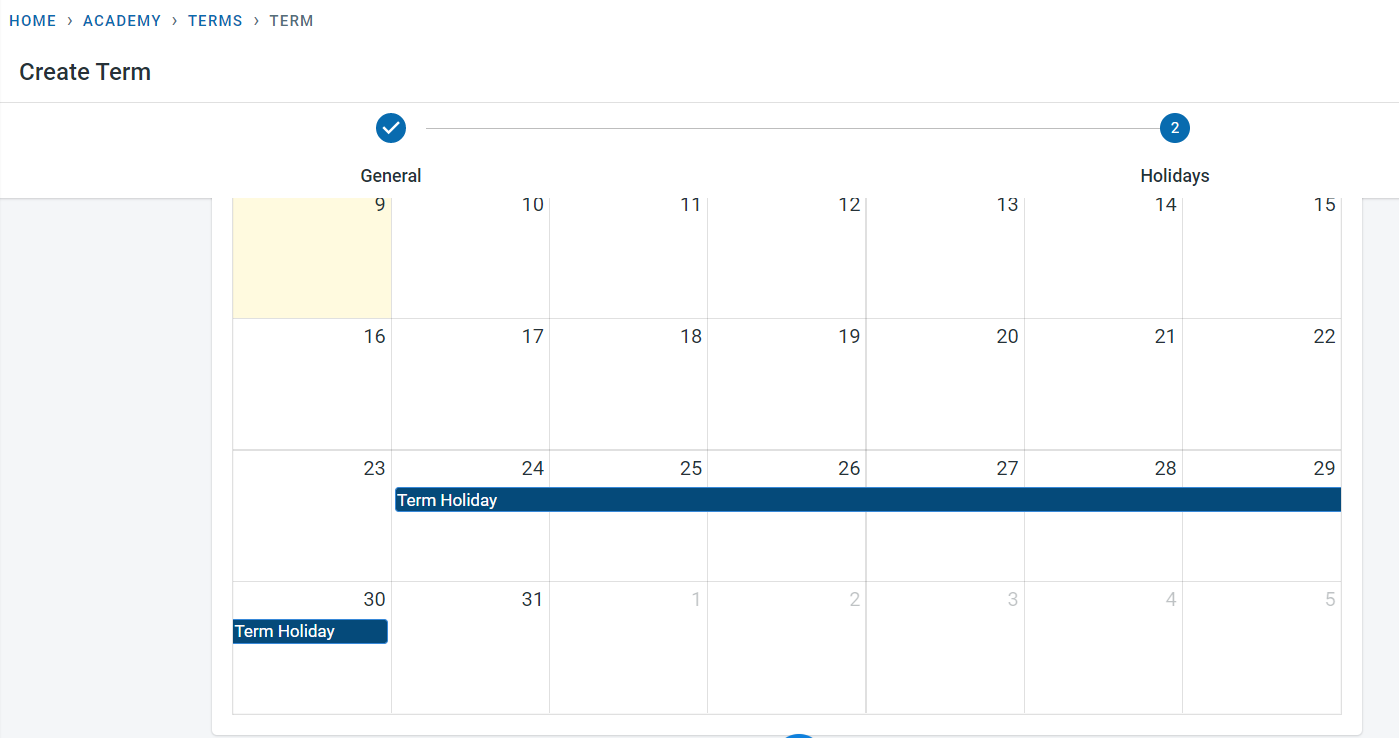
Clicking on the “Add” button will set the Term Holiday dates.
Clicking on the “Create” button will create the Term.
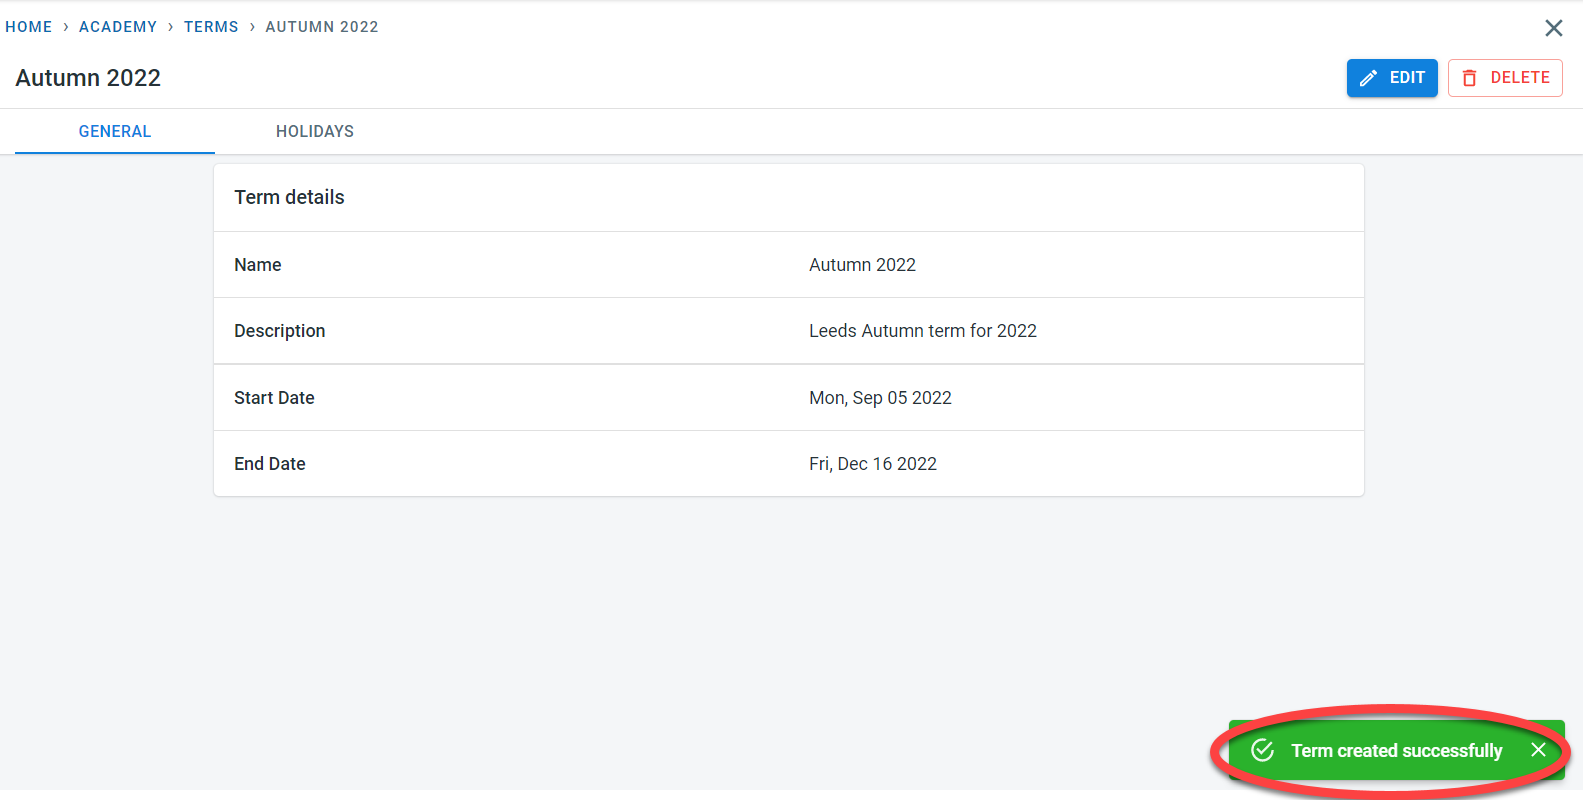
View an existing term
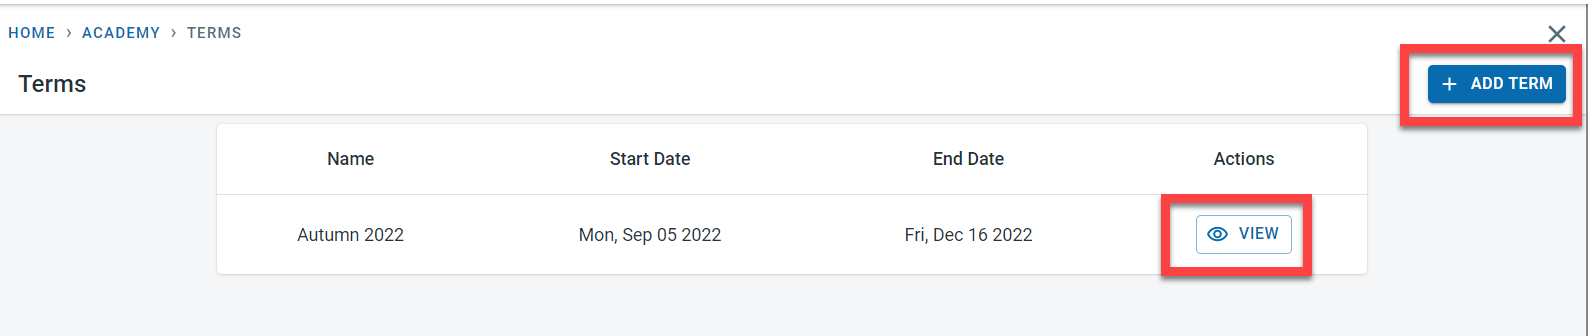
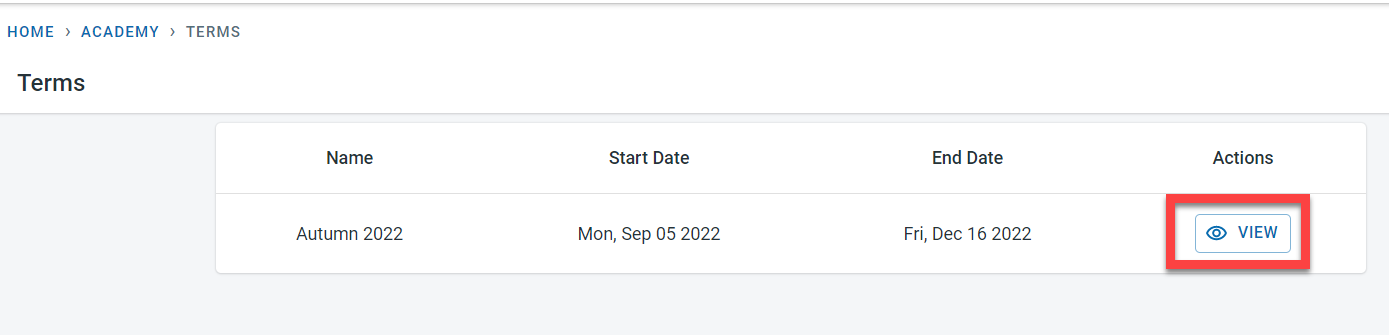
Clicking on the “Term” module from the side menu will list the existing terms
Click on the “Add Term” button in the top right corner to add any additional terms to the Academy. Clicking on the “View” button next to the Term will list the term information along with holiday information.
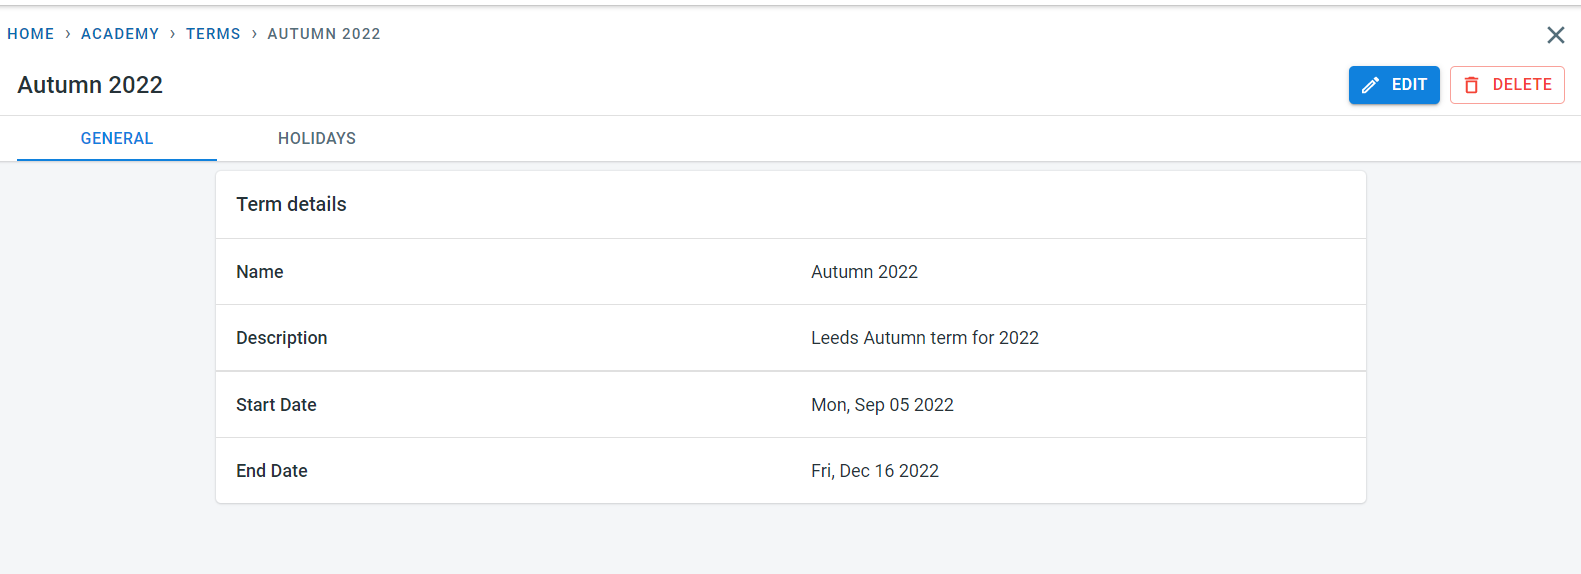
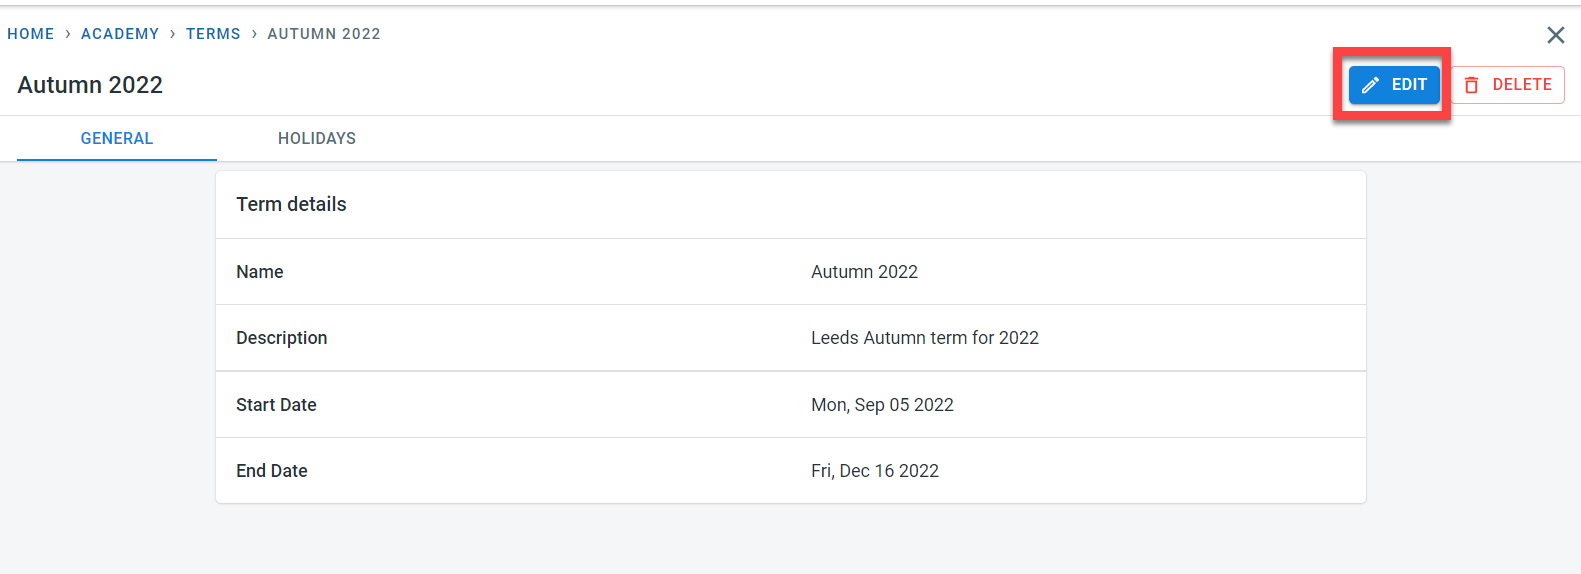
Detailed information about the term is displayed
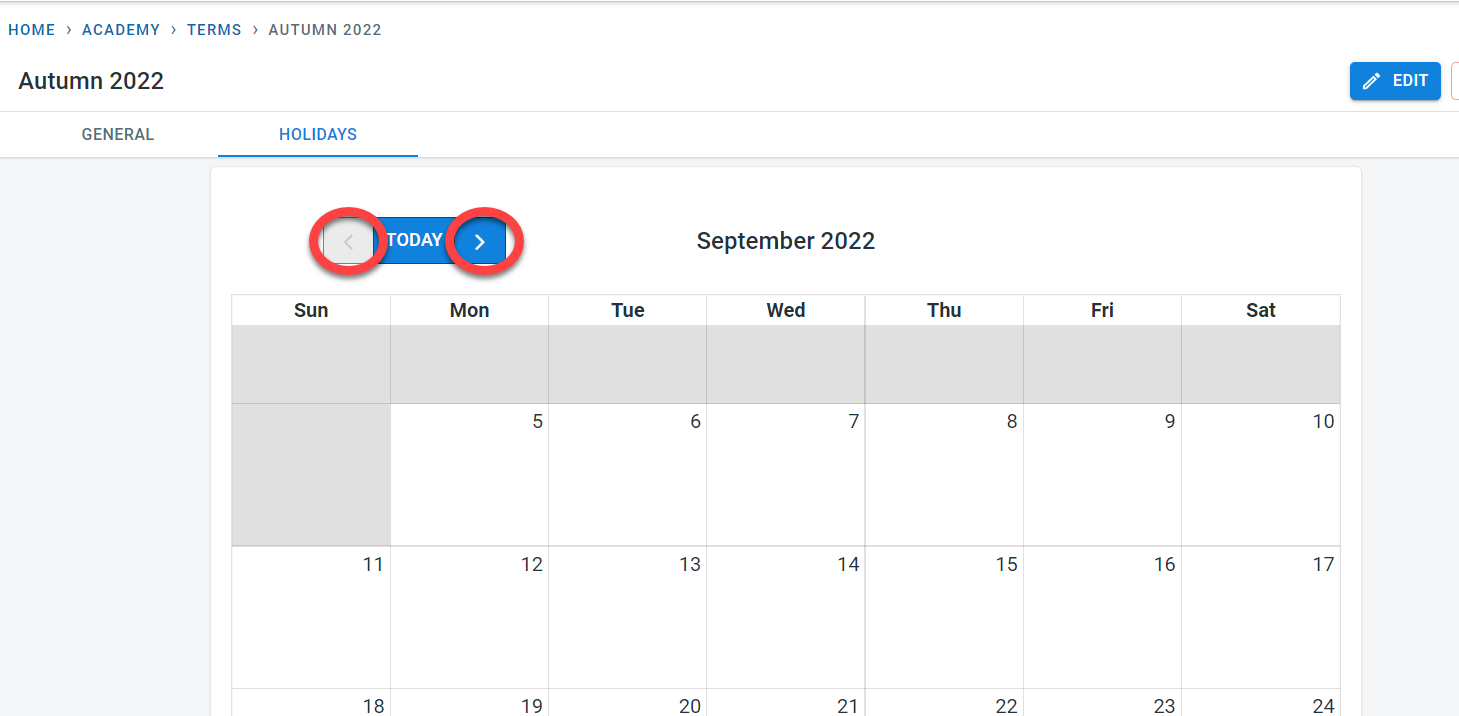
Term dates are shown in the calendar whereas the greyed-out section represents the dates outside the term. The Left and right arrows within the Holidays tab can be used to navigate between different months with the holiday period.
Editing an existing term
Clicking on the “Term” module from the side menu will list the existing terms
Click on the “View” button next to the Term to view detailed information about the term
Click on the Edit button on the top right corner of the term screen to edit the general term information or the holidays within the defined term.
The “Save” button on the top right corner remains greyed out until any changes to general information or holidays are made.
For holiday editing, clinking on any date will bring the “Add Event” popup screen where any necessary changes can be made. Once done, click on “Add”
The holiday will be added to the term

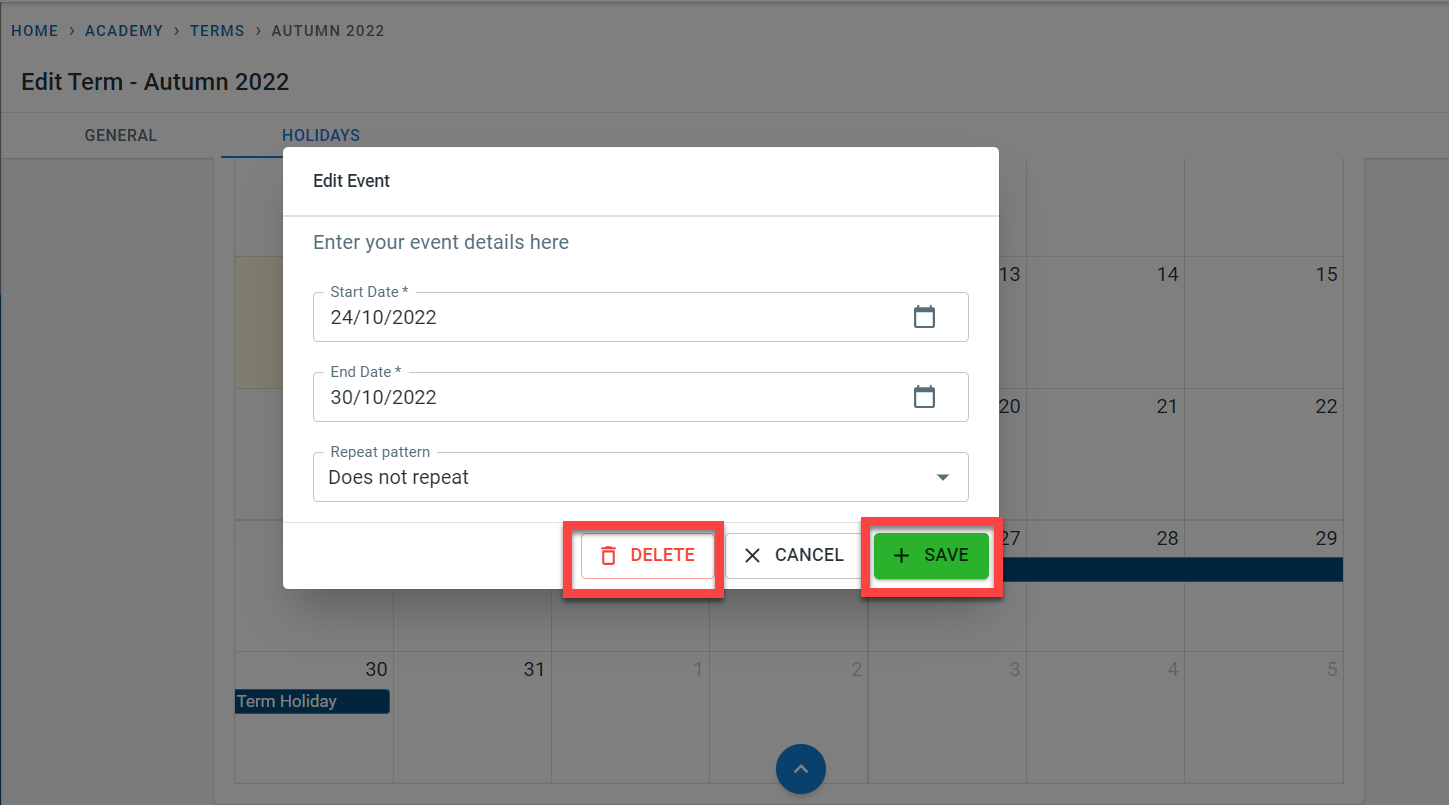
In order to amend an existing holiday, click on the holiday in the calendar. Make the necessary changes and click on “Save”.
Click on “Delete” to delete the holiday for the term.
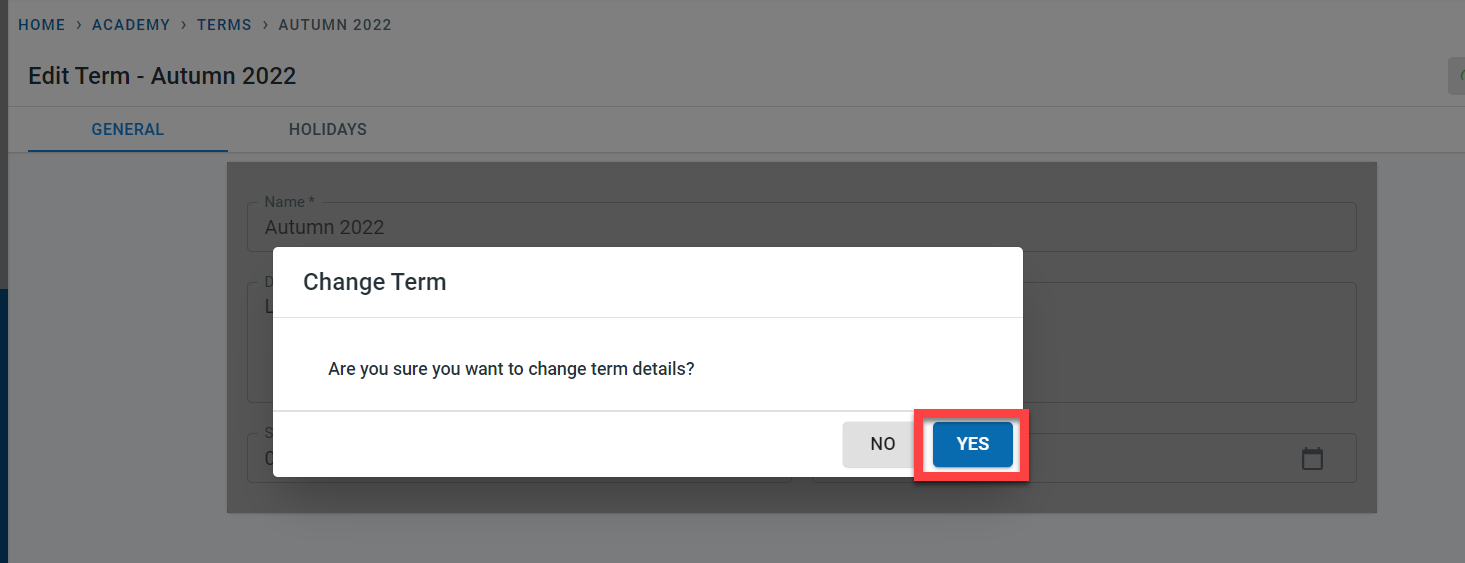
Click on “Save” to confirm the amendments to the calendar

Click on “Yes” in the popup to confirm the changes
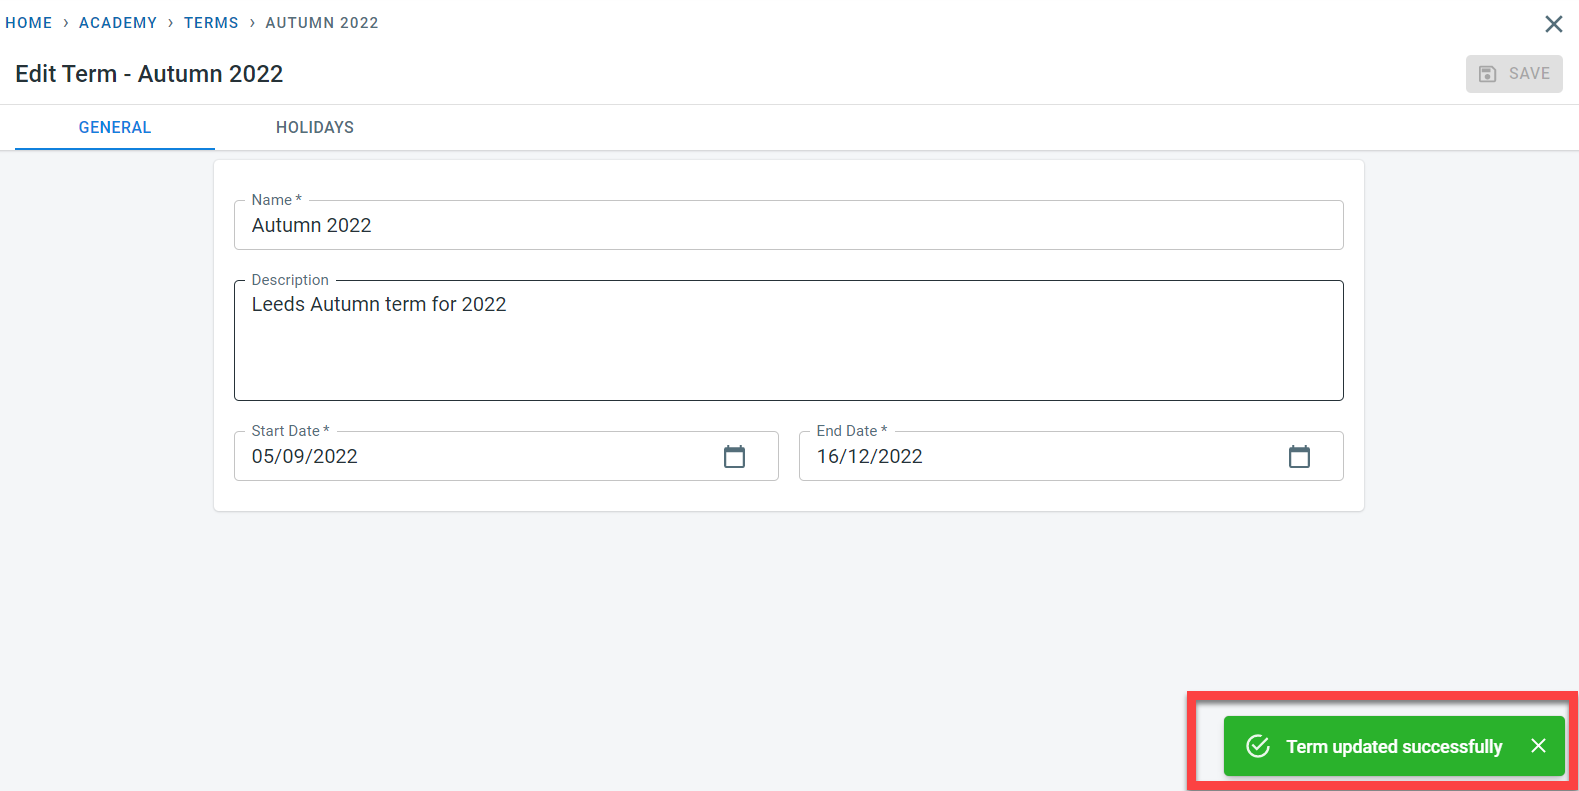
Changes are acknowledged by the “Term Updated Successfully” message.
Deleting a term
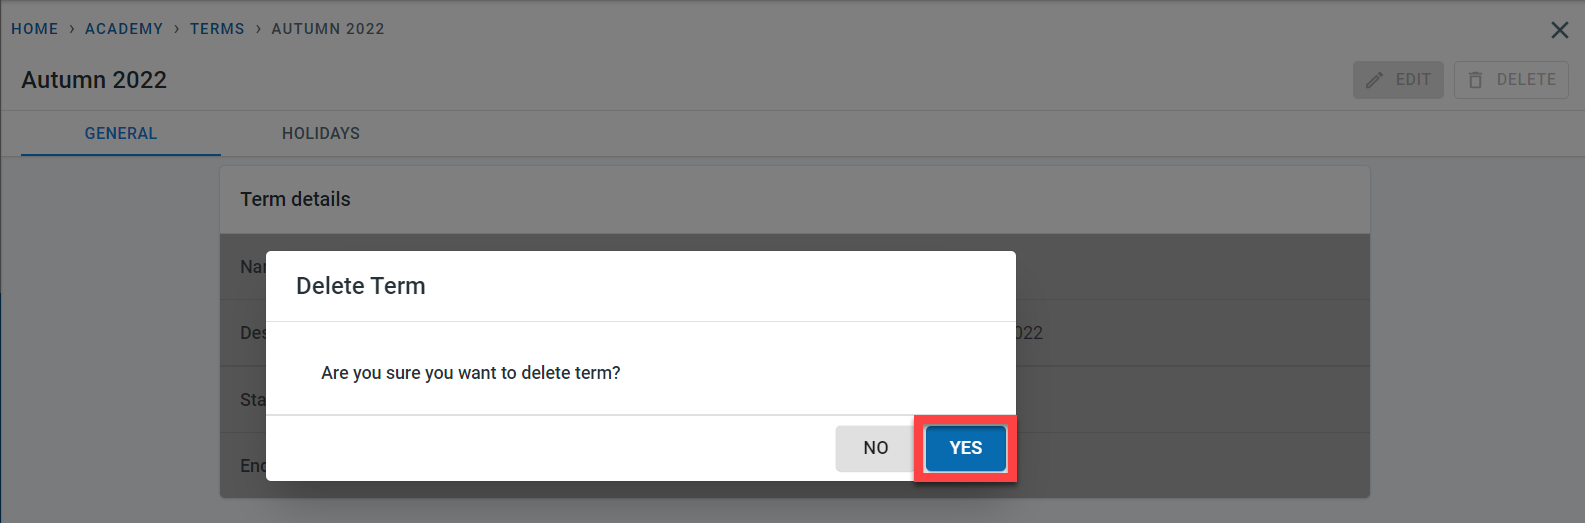
Clicking on the “Delete” button on the top right corner of the term screen will delete the term information and the defined holidays.
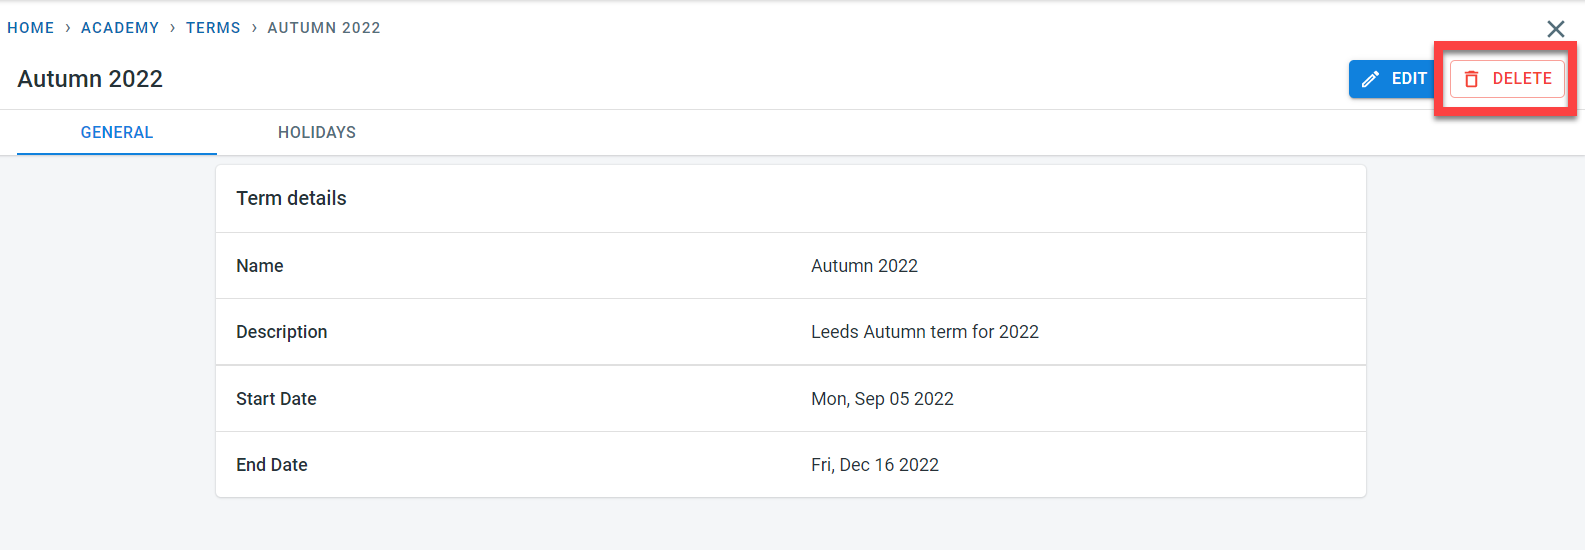
This action is irreversible and will impact the dependent data within other modules including class and enrolment.
Click on “Yes” in the popup to confirm the term deletion. Click on “No” in the popup to cancel the deletion of the term.
Once deleted, an acknowledgment message appears to confirm the deletion of the term.