Student Setup
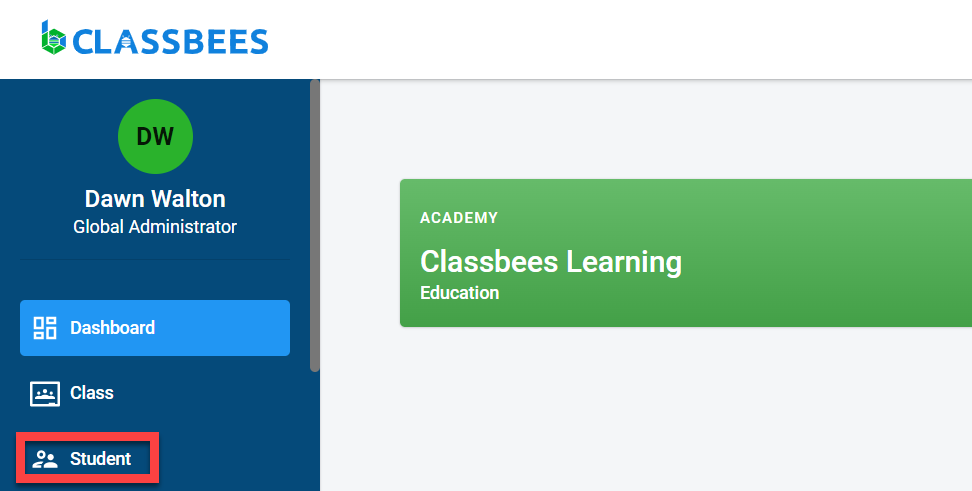
To access the student module, click on “Student” in the main menu.
Click on “Add Student” in the student main screen to create a new student.

There are four sections in student setup
General
The general section is used to capture personal information about the student.
Enter the title, first, middle and last name of the student. Also, capture the month and year of birth of the student.
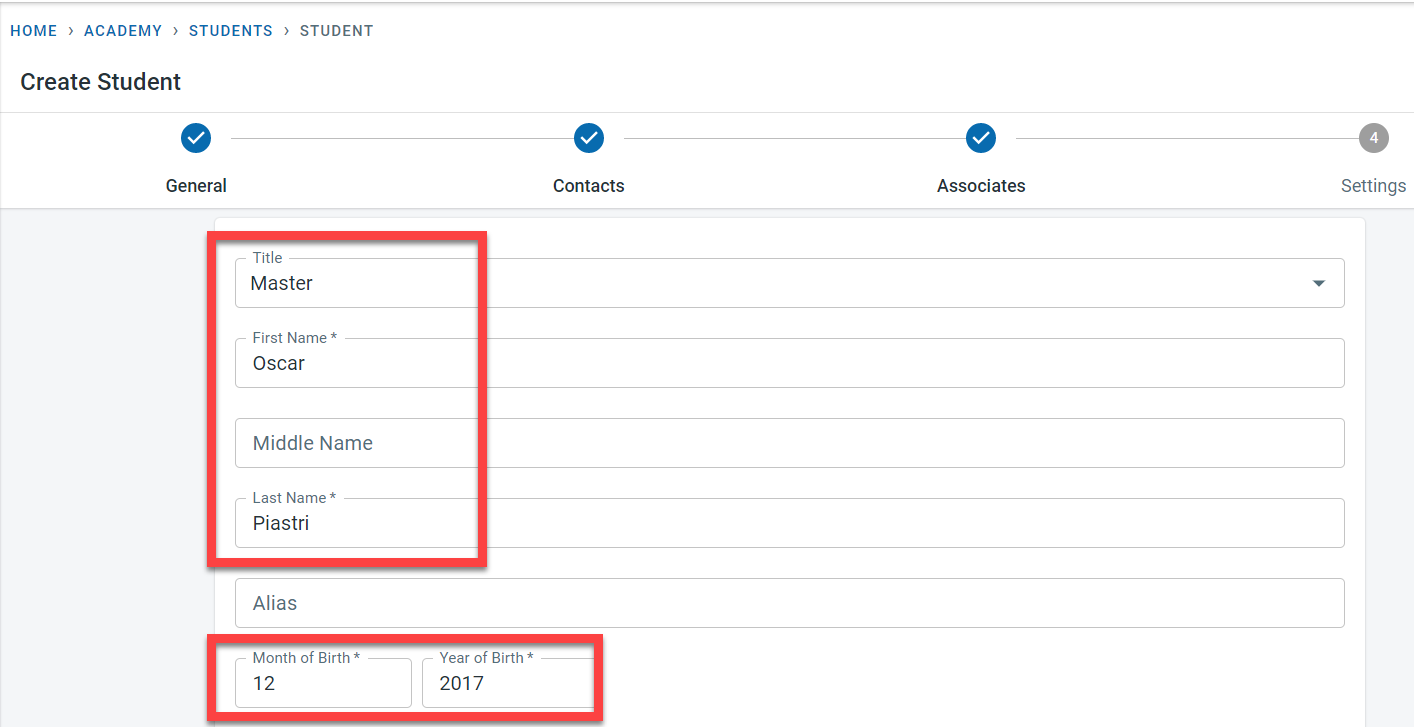
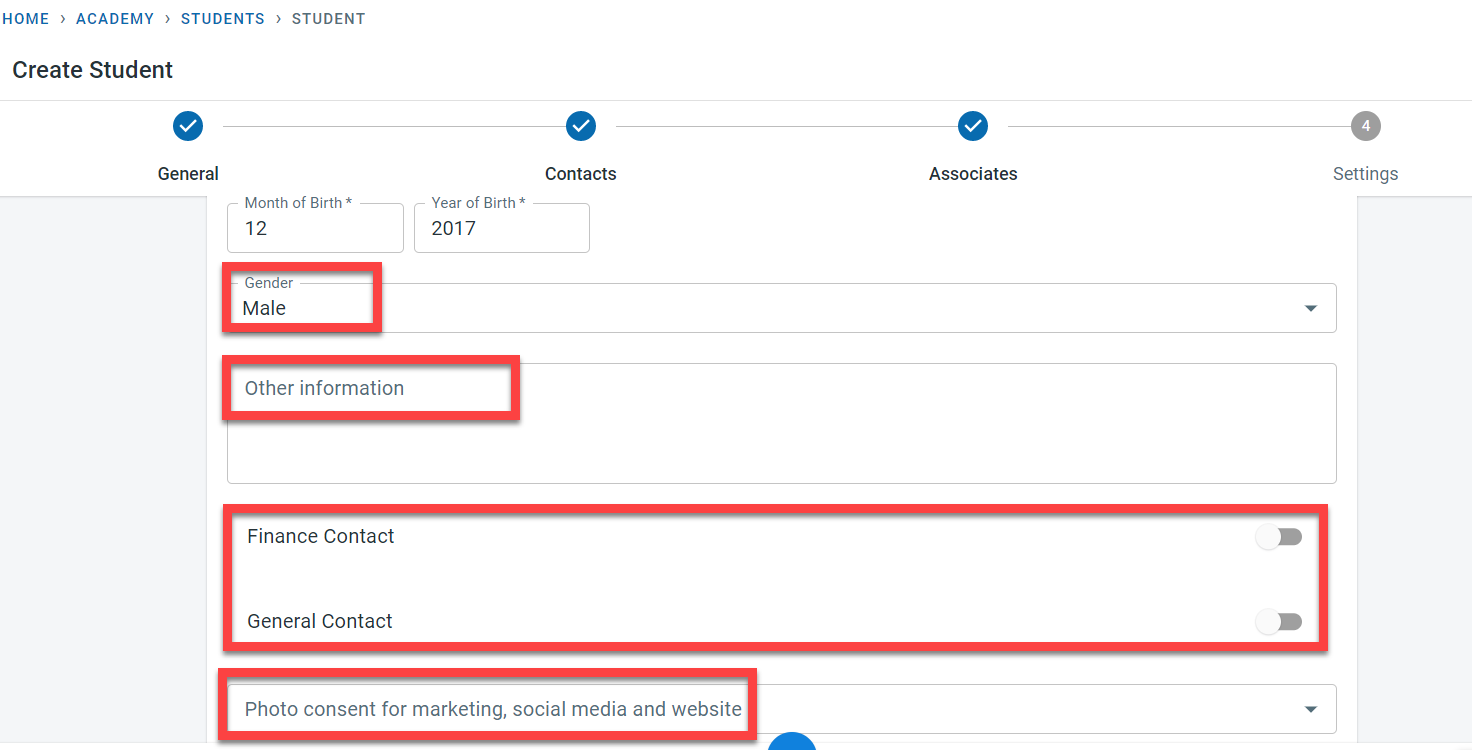
If there are any details to be captured for the student, enter the same in the “Other Information” column. The gender of the student can be recorded here.
Finance contact and general contact can be activated if any finance related (including invoices) and general communication is to be sent to the student directly.
Photo consent for the student for marketing, social media, and website can be recorded in the student’s general screen
Click on “Next” to move onto the contacts section.
First name, last name, the month of birth, and year of birth are the only mandatory fields in the general section
Contacts
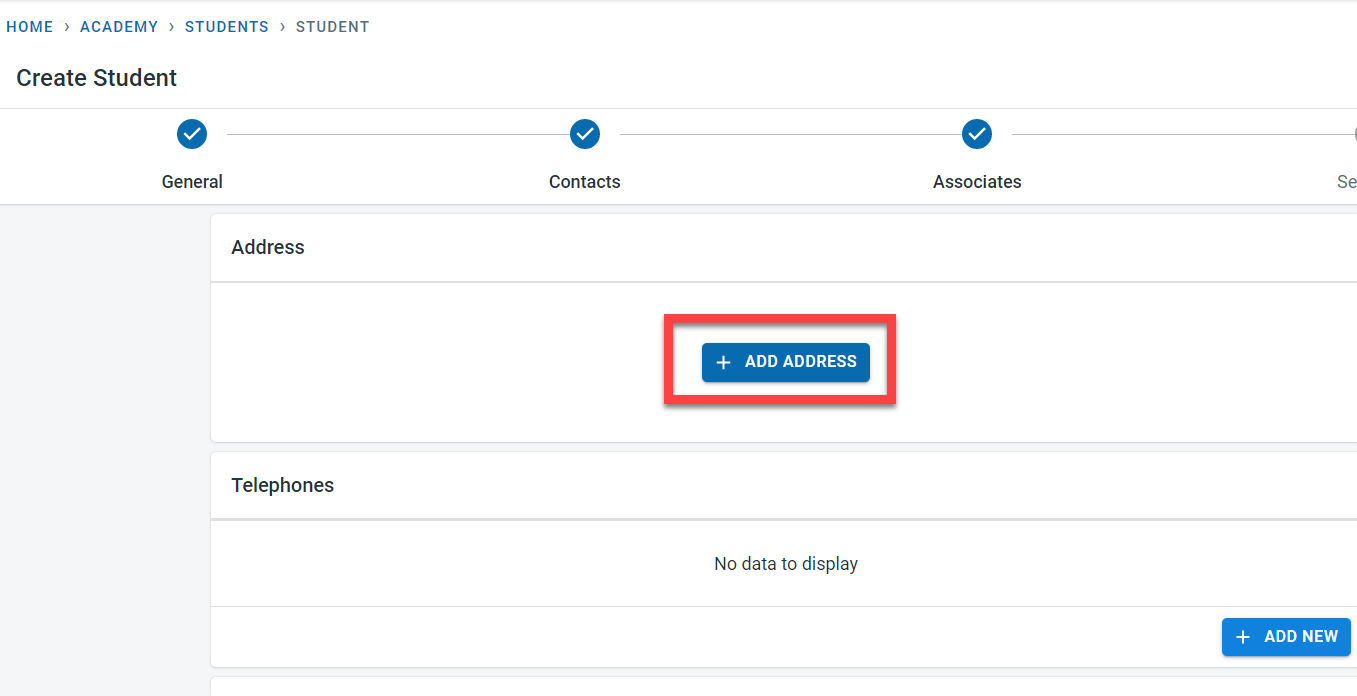
Contact information for the student will be captured in the contacts tab.
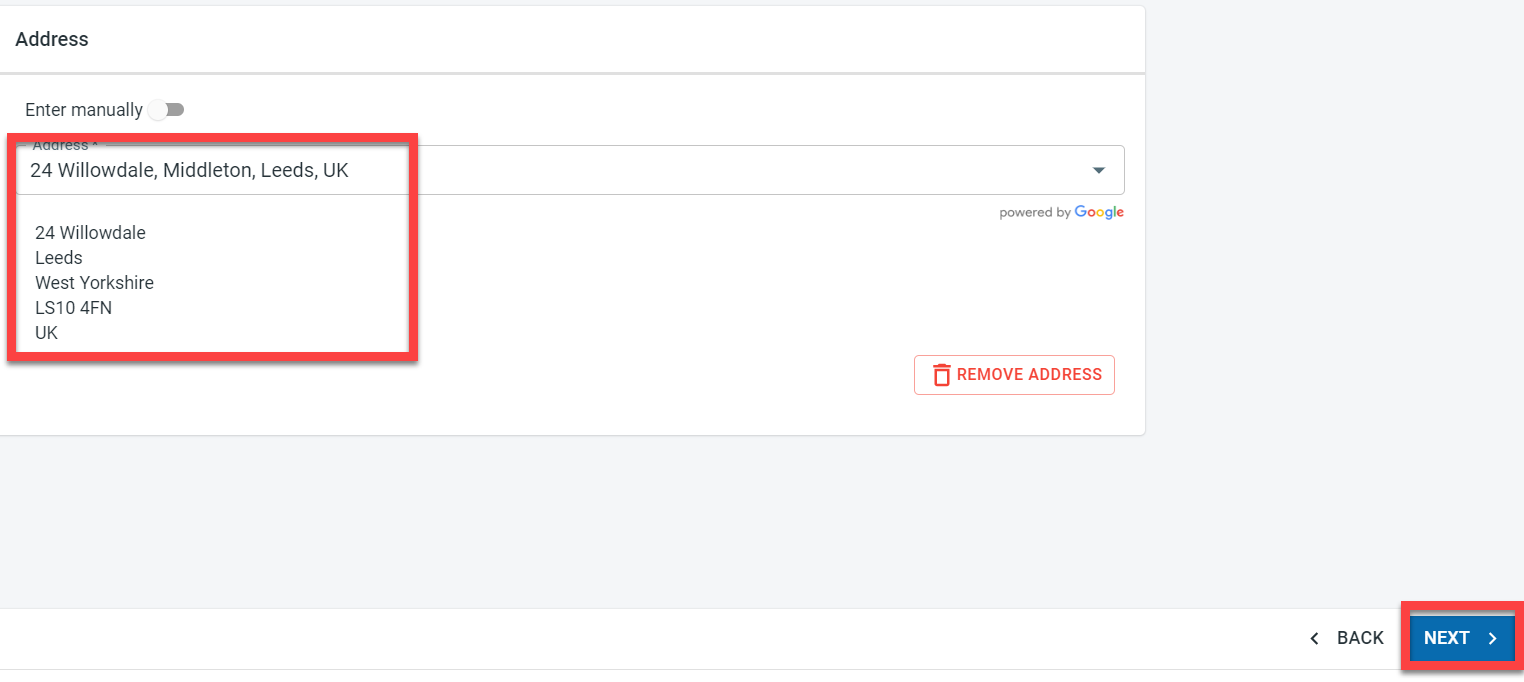
Click on “Add Address” to enter the student’s home address.
Start typing the address in the address field - the remaining address is auto-populated from google. Select the correct student address.
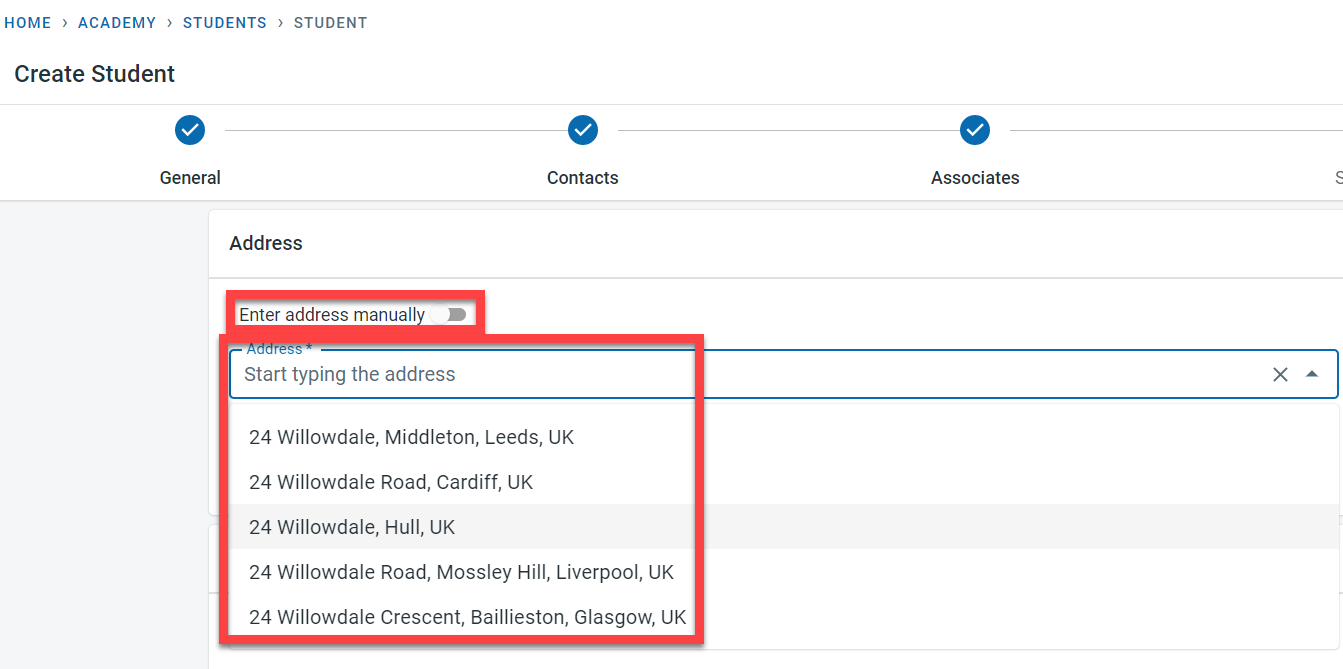
If the student’s address cannot be found by google, then the address can be manually entered by selecting the “Enter Address manually” field.

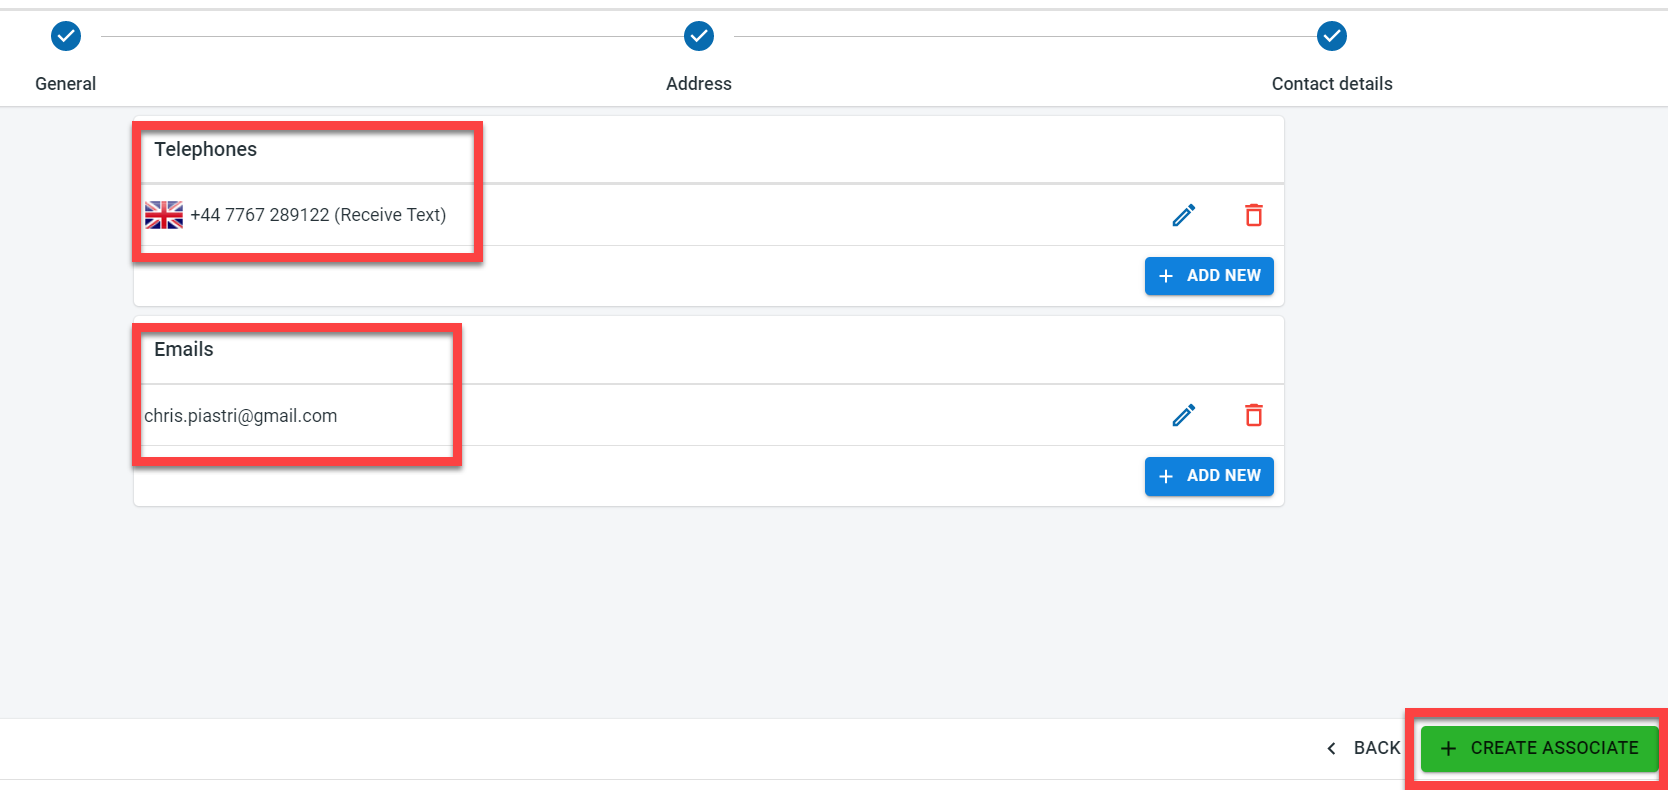
Click on"Add New" in the telephone section to add the telephone number for the student. To enable sms communication to the telephone number from the academy, mark the “Receive text” checkbox.
Click on “Add New” in the emails section to add the email for the student.

Click on “Next” to navigate to the Associate section.
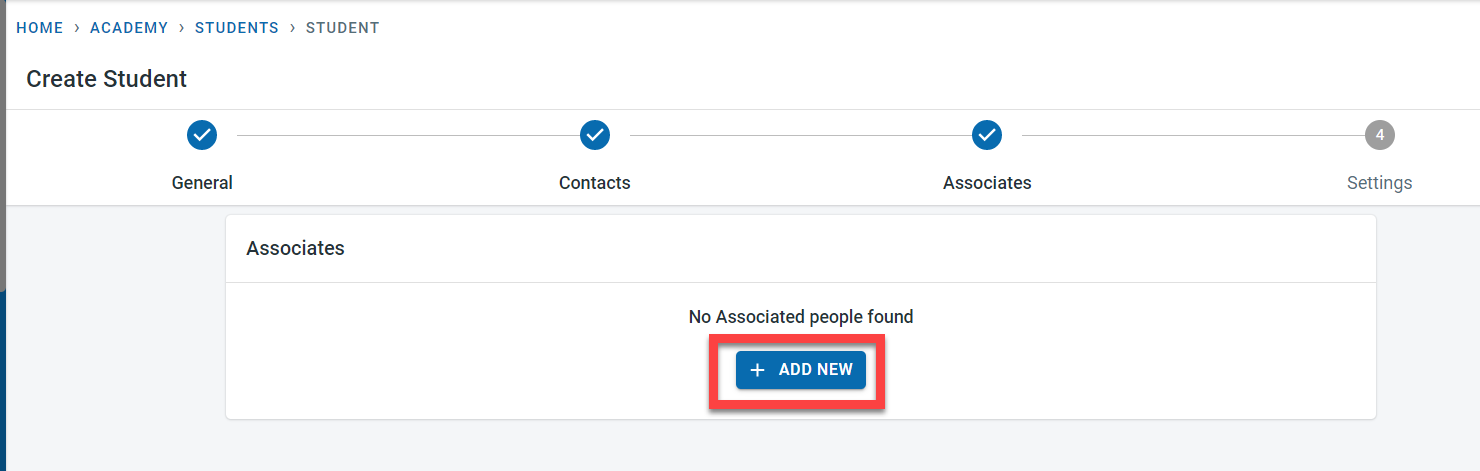
Associates
The associate section is used to capture the other contacts associated with the student
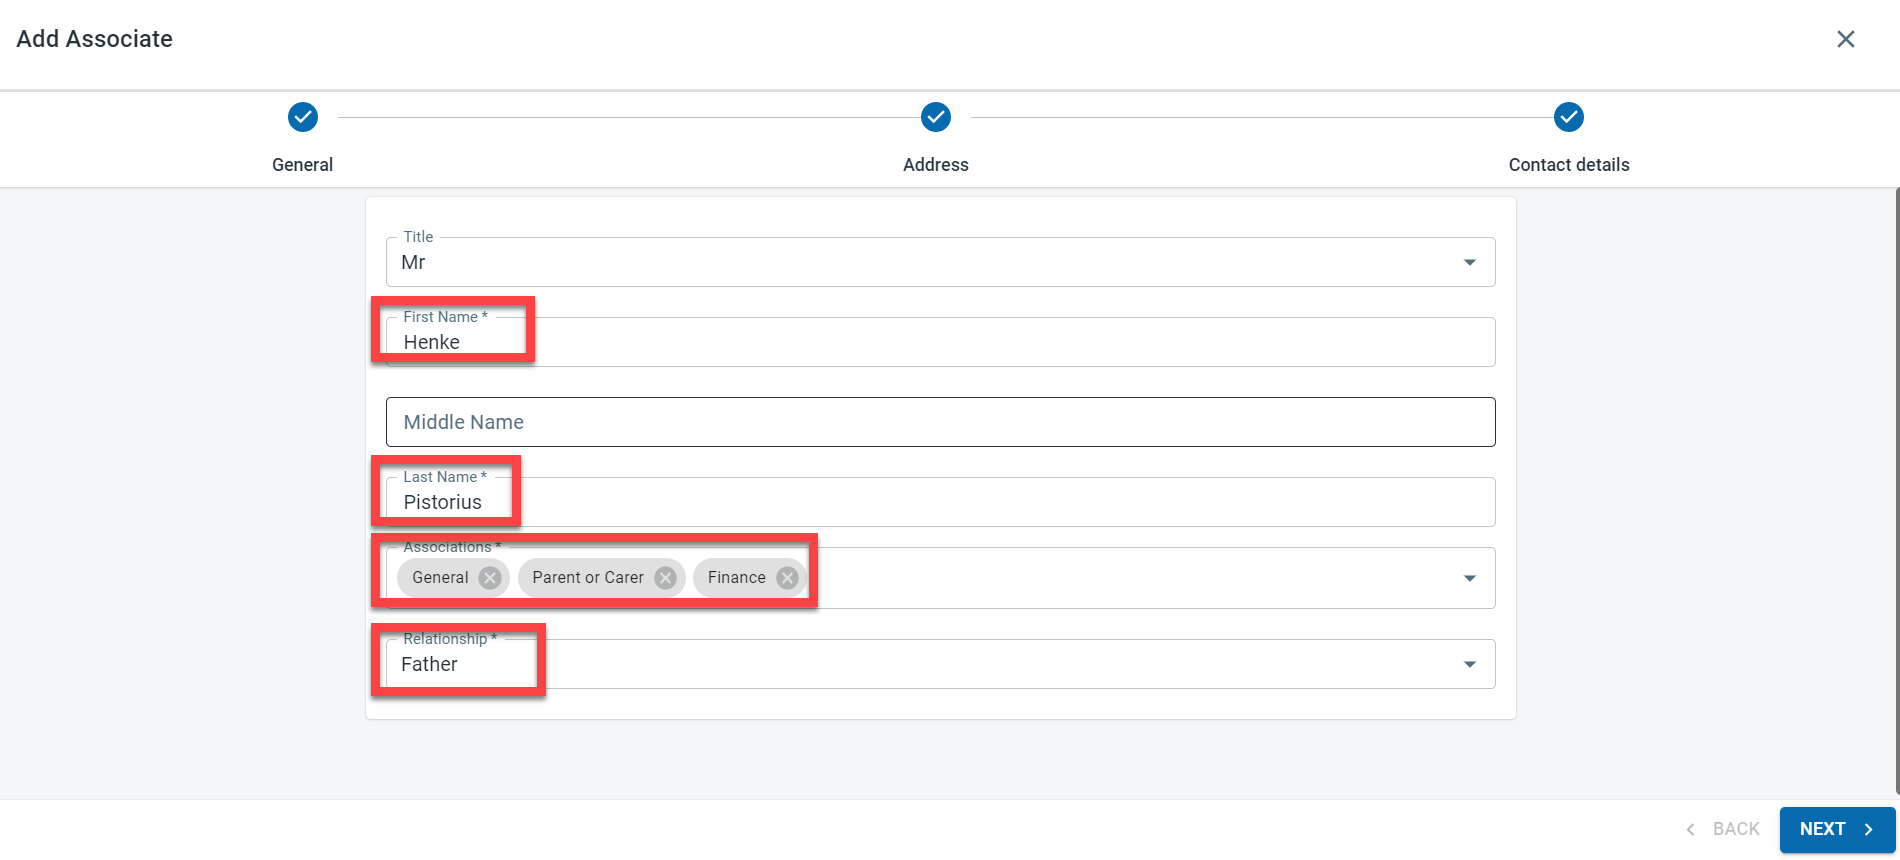
The associate has three sections
-
General : To capture the first, middle, and last names of the associate. The Association field is used to define which of the four association types (General, “Parent or Carer”, emergency and finance) should be linked to the associate. The association type defines what type of communication should be sent to the associate. It is also possible to capture the relationship of the Associate with the student.
-
Enter the address detail of the associate
- Enter the telephone and email address of the associate
Telephone number for the associate is mandatory if the emergency association type is assigned to the associate.
Click on “Create Associate” to save the associate details.
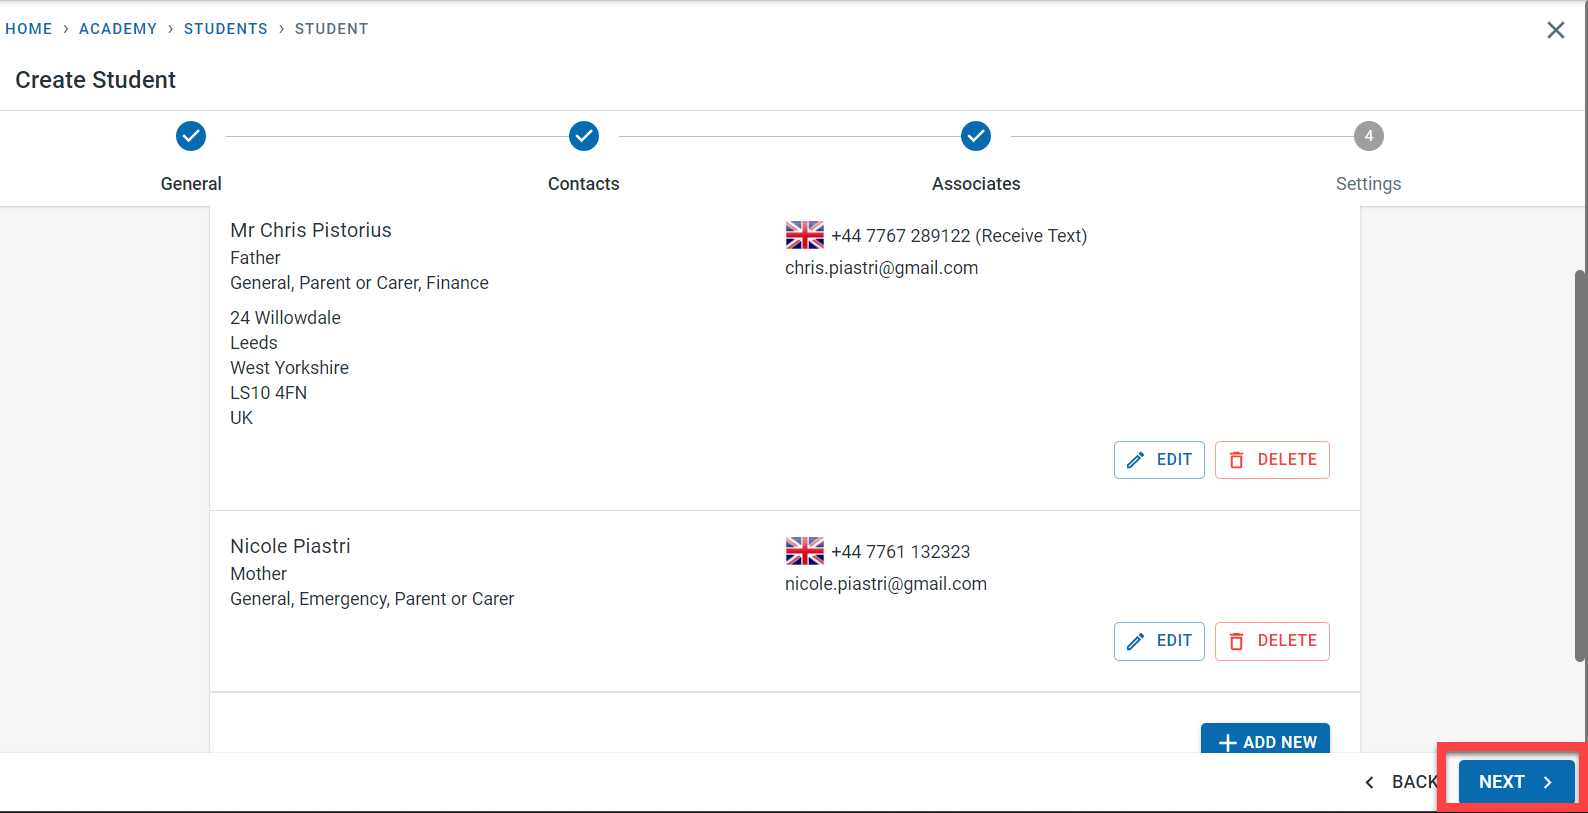
Multiple associates can be created for the student. Click on “Next”
Settings
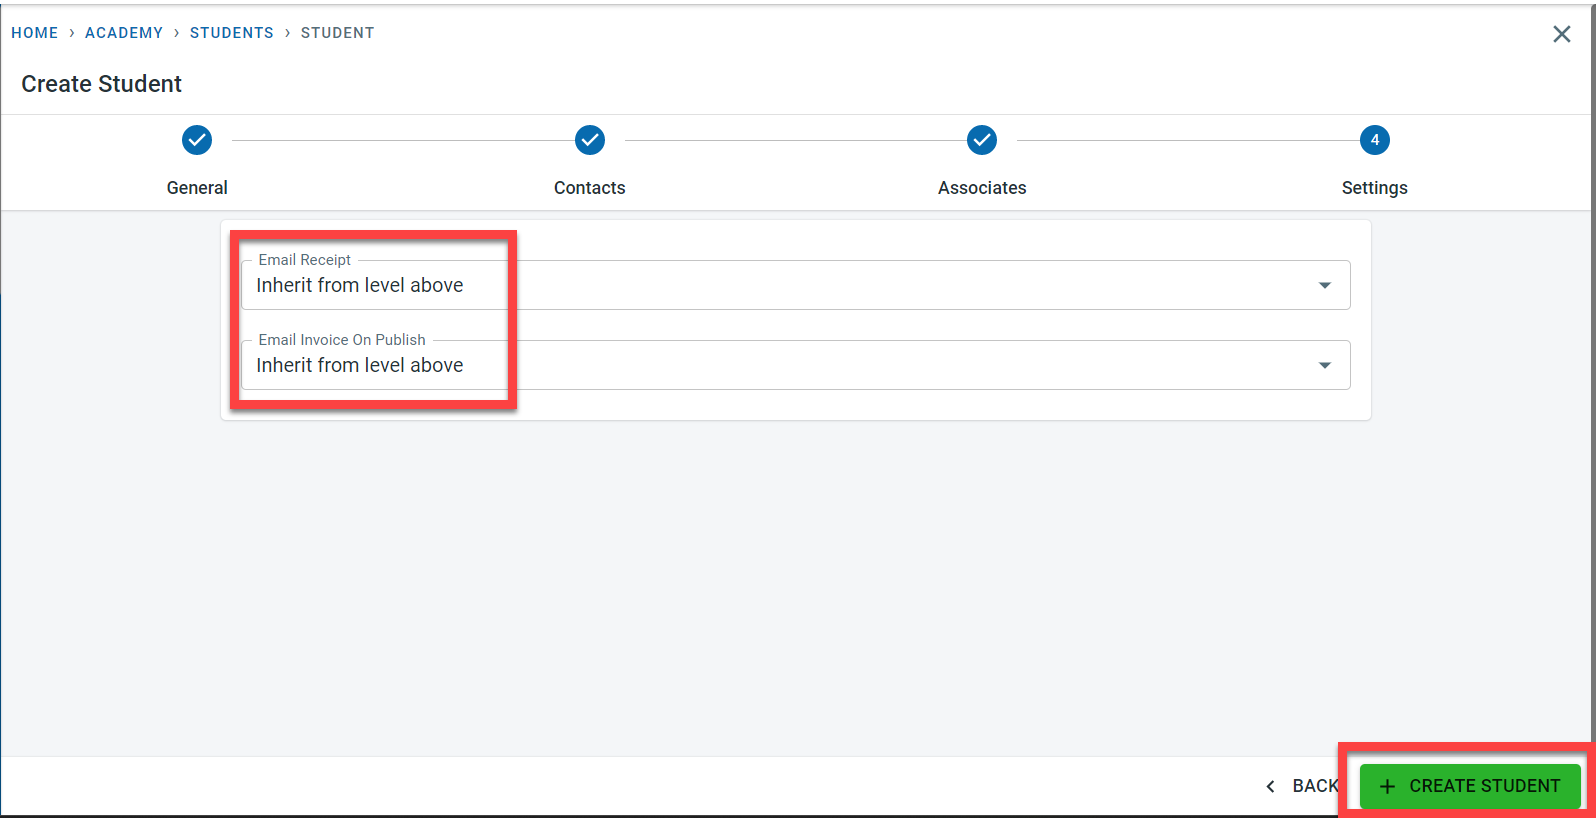
It is possible to set at the student level whether invoices and receipts published for the student have to be emailed out to the finance contacts for the student. The email settings at the academy level for receipts can be copied to the student or this setting can be overwritten at the student level.
Similarly, for Invoices, the email settings at the class level can be copied to the student or this setting can be overwritten at the student level
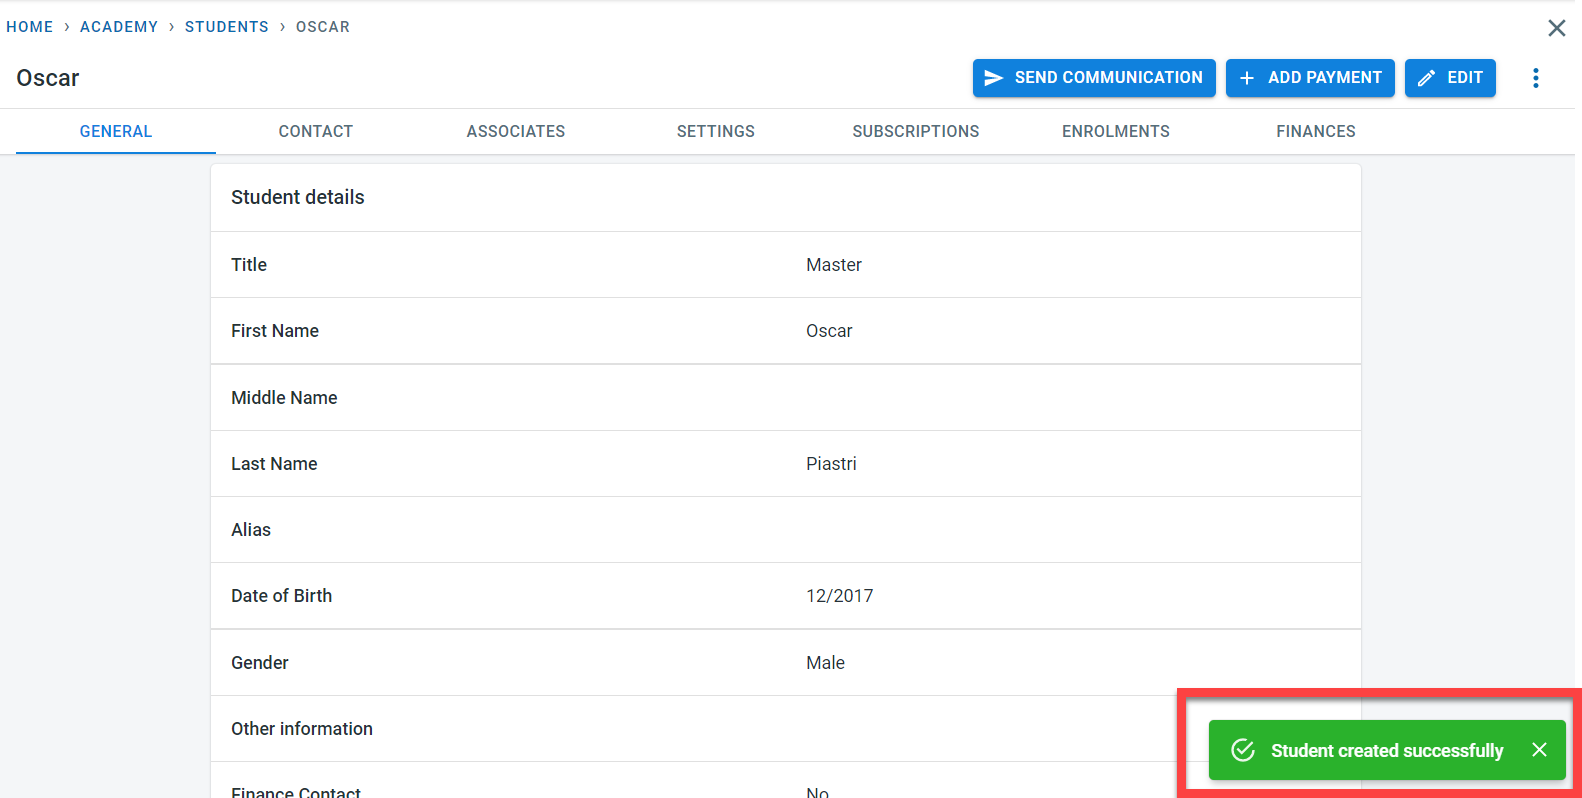
Once the student information is saved to the system, a success message will be displayed